
In outdoor emergencies, guarantee your safety first by evaluating hazards like wildlife, weather, or unstable ground. Check the victim’s responsiveness, airway, breathing, and pulse quickly. Control bleeding with direct pressure and treat injuries by immobilizing broken bones and managing shock. Keep the victim warm with blankets and monitor vital signs. For more effective techniques, you’ll discover how to handle frostbite, perform CPR, and prepare a wilderness first aid kit.
Key Takeaways
- Assess scene safety first to identify hazards and prevent further injury.
- Perform quick victim evaluation: responsiveness, airway, breathing, and pulse check.
- Control bleeding with direct pressure, elevation, or tourniquet; treat wounds appropriately.
- Immobilize suspected fractures with splints, ensuring circulation and nerve function are maintained.
- Use CPR and Heimlich maneuver techniques for life-threatening emergencies like cardiac arrest or choking.
Assessing the Scene and Ensuring Safety

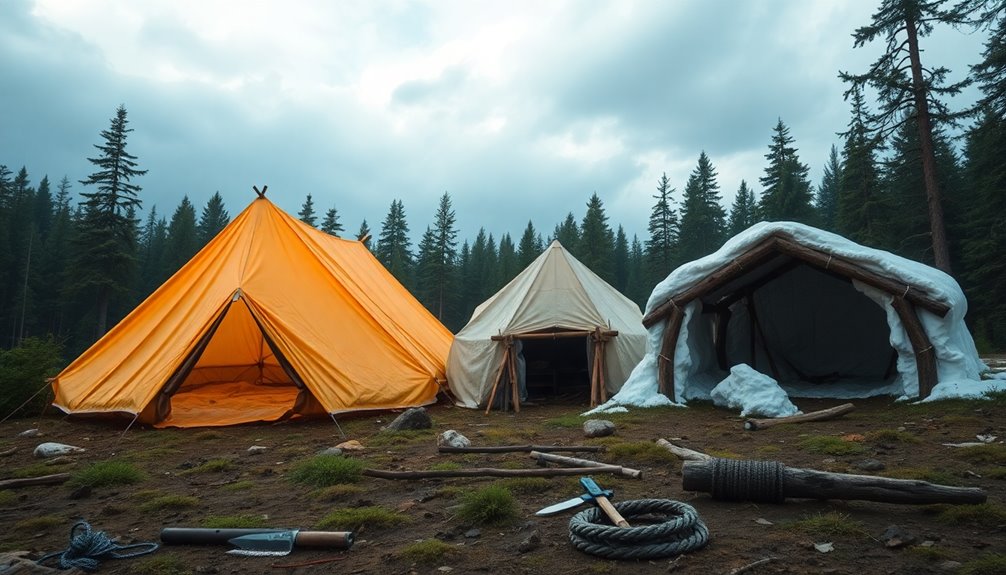
Before approaching an injured person, you must first assess the scene to guarantee it’s safe. Conduct a thorough hazard assessment to identify environmental risks like water, fire, unstable ground, or wildlife. Your scene size-up helps you recognize dangers such as falling rocks, hazardous terrain, or severe weather. Prioritize personal safety by establishing safety precautions—set a secure perimeter and call for help if needed. Look for signs of danger, including spills, unstable structures, or aggressive animals, to guide scene management. Always focus on risk mitigation before providing aid; this prevents becoming a second victim. Rescue prioritization depends on identifying immediate threats to both your safety and the injured person, ensuring effective and safe scene management. Additionally, understanding the role of contrast ratio can help you better evaluate the environment and ensure optimal conditions for safe rescue efforts. Recognizing potential hazards related to essential oils in the environment can also aid in preventing allergic reactions or contamination during rescue. Applying principles from risk assessment can further improve your ability to identify and mitigate dangers effectively. Moreover, being aware of Vetted Archives – StrongMocha resources can provide valuable guidance on safety protocols and best practices. Incorporating Glycolic Acid Benefits for Skin knowledge might seem unrelated but understanding environmental factors can help avoid skin irritation or sensitivities during rescue activities.
Evaluating the Victim’s Condition
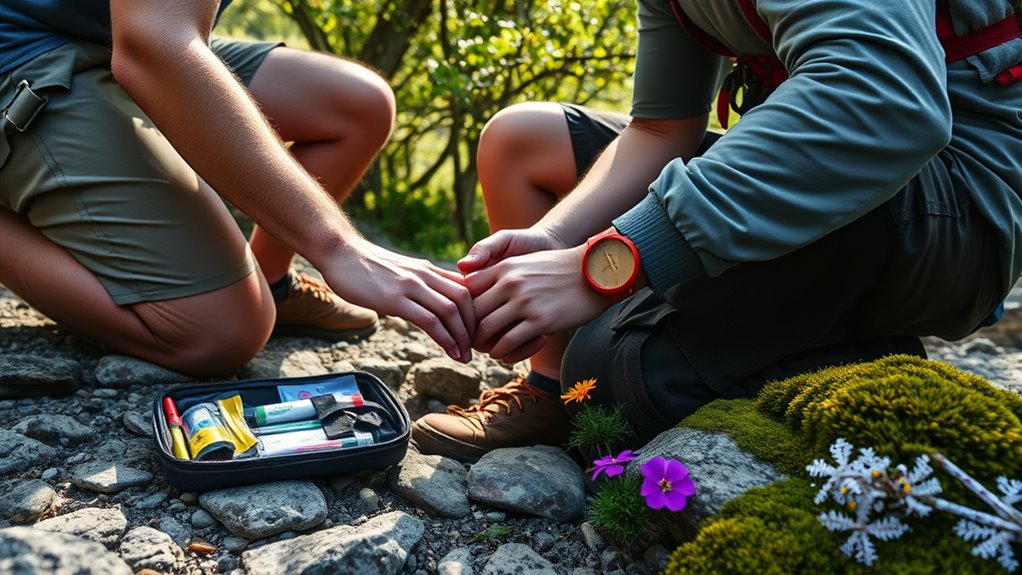
To effectively evaluate a victim’s condition, you need to perform a quick but thorough primary assessment that checks responsiveness, airway, breathing, and pulse—all within seconds. This helps identify life-threatening issues immediately. Always remember to maintain scene safety before approaching the victim to prevent further injury. Start by assessing responsiveness and mental status—ask simple questions or gently shake the victim. Check the airway to ensure it’s clear. Confirm breathing and feel for a pulse to determine circulation. Observe skin color, temperature, and moisture for signs of shock or internal issues. Use these steps: 1. Observe visible injuries like bleeding, bruises, or deformities to gauge severity. 2. Monitor vital signs continuously to detect changes. 3. Look for signs of shock or internal problems in skin and mental alertness.
Managing Airway, Breathing, and Circulation

When managing a victim’s airway, breathing, and circulation, quick action can mean the difference between life and death. Confirm the airway is clear by tilting the head back and lifting the chin to prevent airway obstruction. Assess breathing by feeling for breath, listening for sounds, and watching chest movement; if absent, start rescue breathing. Check the pulse in the neck or wrist within 10 seconds to evaluate circulation. Control bleeding with direct pressure and elevate the injury if possible. During treatment, constantly monitor vital signs to detect changes. Use the following table to guide your response:
| Step | Action | Priority |
|---|---|---|
| Clear airway | Tilt head, lift chin | Airway management |
| Assess breathing | Feel, listen, observe chest rise | Breathing check |
| Check pulse | Carotid or radial artery | Circulation check |
| Control bleeding | Apply pressure, elevate, tourniquet | Hemorrhage control |
| Monitor vitals | Keep track of signs | Life support |
Additionally, understanding the importance of digital literacy can enhance your ability to respond effectively by utilizing available resources for emergency situations.
Controlling Bleeding and Wound Care
Controlling bleeding is essential to prevent excessive blood loss and shock. To do this, you should:
- Apply direct pressure with sterile dressings or a clean cloth to stop bleeding and prevent infection.
- Elevate the injured limb above the heart to reduce blood flow and slow bleeding.
- Once bleeding is controlled, secure a pressure bandage or tie a cloth firmly above the wound. For severe bleeding that won’t stop, apply a tourniquet above the injury site, tightening until bleeding ceases.
- Consulting architectural solutions can be beneficial for designing safe and effective first aid stations or emergency access routes in large facilities. Ensuring proper facility design can facilitate quicker response times during emergencies.
- Additionally, understanding bleeding management techniques enhances the efficacy of first aid efforts and can be life-saving in critical situations.
Always clean minor wounds with purified water and remove debris carefully. Proper wound care and bleeding control are key first aid techniques to stabilize the injured person until professional help arrives.
Treating Hypothermia and Frostbite

After stopping bleeding and caring for wounds, it’s important to address the risk of hypothermia and frostbite in cold weather. Hypothermia occurs when your body temperature drops below 95°F (35°C), causing dizziness, confusion, and shivering. Frostbite damages skin, often turning it black and numb, especially on extremities like fingers, toes, nose, and ears. In outdoor survival situations, insulate the person with blankets or clothing and share body heat to warm them gradually. For frostbite, gently rewarm affected areas with body heat or warm (not hot) water, avoiding direct heat sources. Recognizing these conditions as medical emergencies is vital, and immediate first aid can prevent tissue damage and serious complications. Proper temperature regulation is essential to prevent further complications. Regular monitoring of body temperature can help detect hypothermia early and prompt timely intervention. Using appropriate first aid techniques can significantly improve recovery outcomes. Additionally, understanding the signs and symptoms of hypothermia and frostbite can facilitate quicker response and treatment. Being aware of the risk factors associated with cold injuries can help in prevention efforts. Always seek professional help as soon as possible.
Handling Broken Bones and Joint Injuries
When you encounter a suspected broken bone or joint injury, it’s vital to recognize the signs like swelling, deformity, or severe pain. Use available materials to immobilize the injury with splints and supportive bandages, making certain to stabilize the joints above and below. Always check circulation and sensation before and after splinting to guarantee proper immobilization and comfort. For enhanced stability, consider proper immobilization techniques to prevent further injury. Developing a growth mindset can also help you stay calm and focused during emergency situations, ensuring effective care. Regularly inspecting the projector bulb and practicing proper maintenance can prevent sudden failures during critical moments. Adopting creative storytelling principles can also aid in effectively communicating injury details to emergency responders or medical professionals.
Recognize Fracture Signs
Recognizing a fracture involves paying close attention to specific signs that indicate broken bones or joint injuries. Common fracture signs include severe pain, swelling, and deformity, often making it hard to move the injured limb. You might notice a misaligned or unstable joint, or feel a grating sensation when touching or moving the area. An open fracture is particularly serious, with bone protruding through the skin, requiring urgent medical attention. The victim may also report localized pain that worsens with pressure, and in some cases, the bone may be visibly displaced. If you see these signs—especially deformity, swelling, or bone protrusion—you should treat the injury as a fracture and seek immediate help. Recognizing these clues helps prevent further damage.
Proper Splinting Techniques
Proper splinting is essential for immobilizing broken bones and joint injuries to prevent further damage. To do this, you must secure the joints above and below the injury, ensuring proper stabilization. Use rigid materials like sticks, branches, or rolled-up clothing as splints, extending beyond the joints to support the entire fracture or dislocation. Tie the splint firmly with cordage or cloth, but avoid tightening too much to maintain circulation; check regularly for signs of compromised blood flow. Support the injured limb with padding or a sling to reduce pain and prevent movement. Proper support and alignment are vital for healing and comfort. After splinting, monitor circulation, sensation, and movement distal to the injury for any signs of circulation issues or nerve damage.
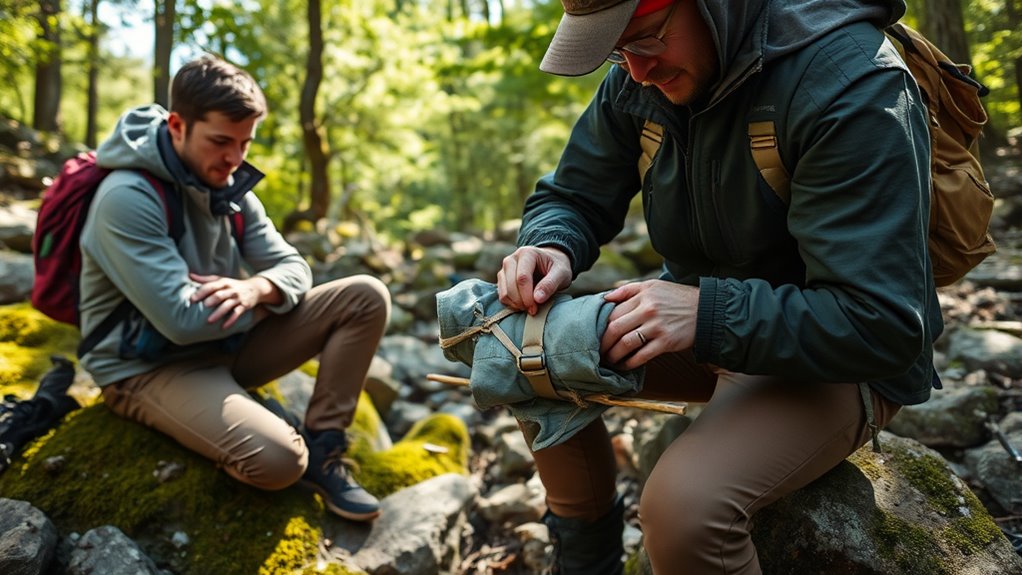
Immobilize for Transport
To safely transport someone with a broken bone or joint injury, immobilize the area using sturdy materials like sticks, branches, or rolled-up clothing to prevent further damage. Proper immobilization reduces pain and avoids worsening injuries during transport. You should: 1. Create splints that immobilize the injured limb above and below the injury, stabilizing broken bones or joint injuries. 2. Support adjacent joints, such as elbows or knees, with slings or extra splints for better stability. 3. Secure the splints firmly with cordage, bandages, or cloth, making sure they’re snug but not cutting off circulation, and check blood flow regularly. Ensuring correct digital literacy in your immobilization techniques can help prevent complications and improve the effectiveness of your first aid. Being familiar with different types of splints can enhance your ability to respond effectively in various wilderness scenarios. Using navigation technology can assist in planning the safest route for transport, especially in challenging terrains. Effective immobilization helps support the injury, making transport safer and reducing complications in wilderness settings.
Preventing and Managing Foot and Skin Issues
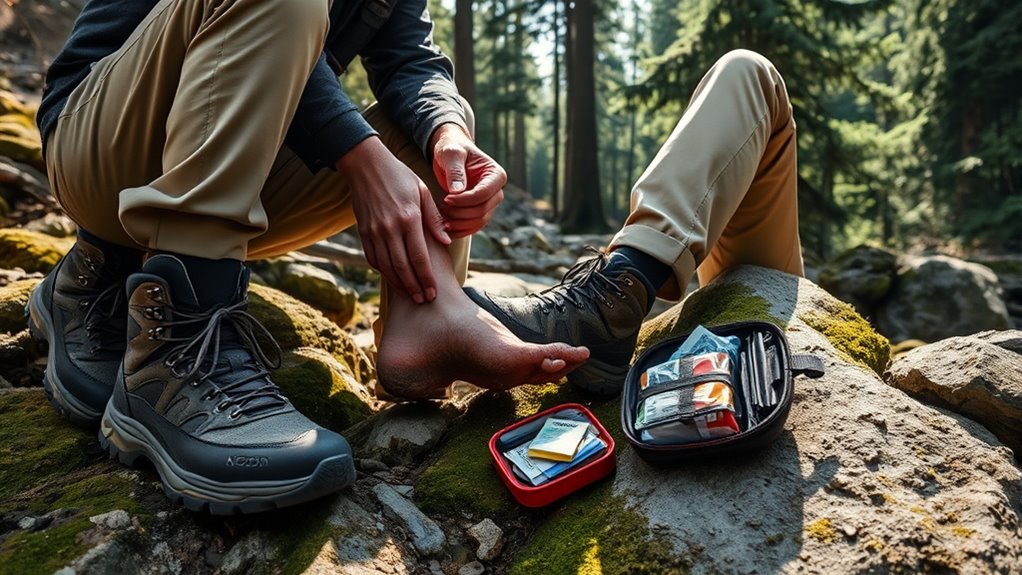
Maintaining healthy feet and skin is essential during outdoor adventures, and staying vigilant can prevent many common issues. To avoid blisters and trench foot, wear proper footwear and always keep your socks dry, preferably wool. Regular foot care, including inspecting for redness, swelling, or hot spots, allows for early intervention. Use dry socks after water crossings or sweating to prevent fungal infections and skin irritations. If you notice blisters, tape them with medical tape or moleskin to reduce pain and prevent infection; drain only large, painful blisters. For cuts or abrasions, apply antiseptic ointments and cover them to minimize infection risk. Staying attentive to your feet and skin can help you enjoy outdoor activities safely and comfortably. Ensuring your footwear and socks are compatible with your activity can improve overall foot health tip size.
Performing CPR and Heimlich Maneuver
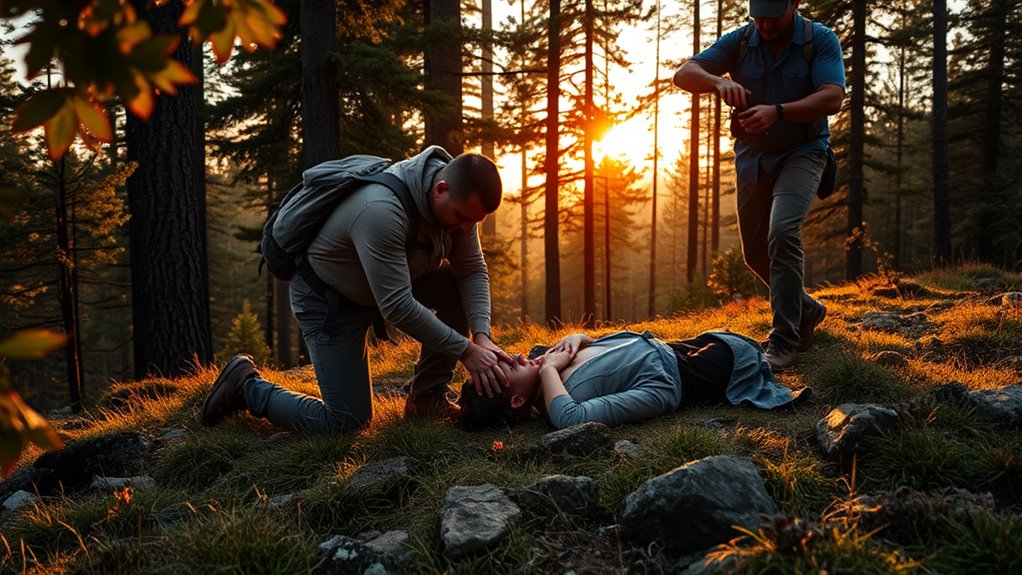
When someone stops breathing or their heart ceases to beat, quick action can mean the difference between life and death. In wilderness first aid, knowing how to perform CPR and the Heimlich Maneuver is crucial.
You should:
- Check for a pulse and breathing. If absent, start chest compressions at 100-120 pushes per minute to maintain circulation. Rescue breaths are essential if possible, but compression-only CPR works when rescue breaths aren’t feasible.
- For a conscious choking victim, perform the Heimlich Maneuver by making a fist above the navel and thrusting inward and upward to clear airway obstruction. Repeat until the object is expelled or they become unresponsive.
- Switch rescuers every 2 minutes to prevent fatigue and ensure effective emergency response, a key life-saving skill in wilderness settings.
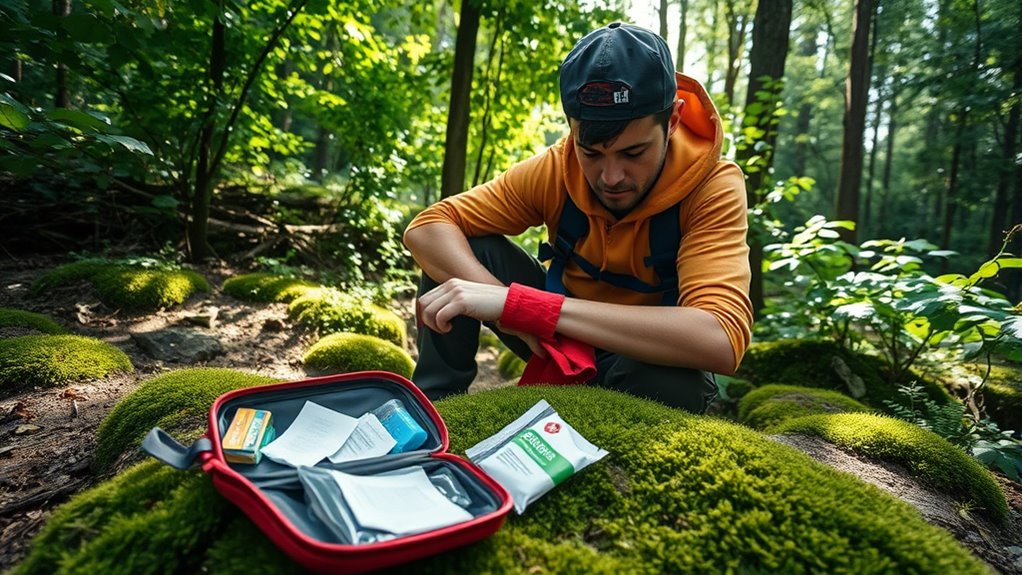
Preparing a Wilderness First Aid Kit
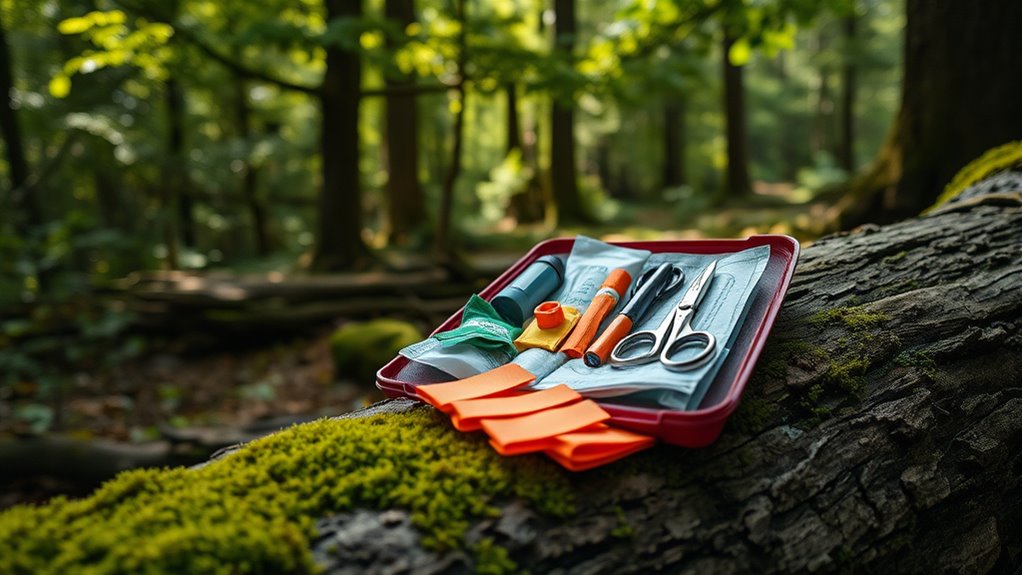
Preparing a wilderness first aid kit requires careful selection of essential supplies that can handle common injuries and emergencies in outdoor settings. You need a well-organized kit with first aid essentials like sterile gauze, adhesive bandages, antiseptic wipes, scissors, and medical tape for injury treatment. Use waterproof containers to protect your medical supplies from dirt, moisture, and rough handling, ensuring quick access when needed. Include specialized first aid items such as cold packs, tweezers, and CPR masks to address specific wilderness injuries effectively. Stock your kit with medications like pain relievers, antihistamines, and antibiotic ointments, considering expiration dates and shelf life. Customize your first aid kit based on the environment, activity, and trip duration to boost your emergency preparedness.
| Item | Purpose | Notes |
|---|---|---|
| Sterile gauze | Wound dressing | Cover large cuts |
| Adhesive bandages | Small cuts/scrapes | Various sizes |
| Antiseptic wipes | Infection prevention | Clean wounds |
| Tweezers | Remove debris | Splinters, ticks |
| Cold packs | Reduce swelling | Instant use |
Frequently Asked Questions
What Are Basic First Aid Techniques?
You want to know the basic first aid techniques, and they include controlling bleeding by applying pressure and elevation, cleaning wounds to prevent infection, immobilizing broken bones or sprains with splints, opening airways, and performing CPR if someone isn’t breathing. Using improvised tools can also be essential when help is far away. These skills help stabilize an injured person until professional assistance arrives, especially in remote or wilderness situations.
What Are the ABCS of Wilderness First Aid?
Did you know that most emergencies in the wild require immediate attention to airway, breathing, and circulation? The ABCs are your top priorities: you open the airway by tilting the head back, check if the person’s breathing by feeling and listening, and guarantee circulation by feeling for a pulse and controlling bleeding. Focusing on these steps helps you stabilize your patient quickly and effectively in critical moments.
What Are the 5 Basic Steps for First Aid?
You start by evaluating the scene to ensure safety for everyone involved. Then, check the victim’s responsiveness by gently shaking them and asking if they’re okay. Next, call for help immediately if needed. Provide necessary treatment, focusing on airway, breathing, circulation, and injuries. Finally, monitor the victim’s condition continuously until professional help arrives, making sure they stay stable and safe throughout the process.
What Are the 4 C’s of First Aid?
The 4 C’s of first aid are Check, Call, Care, and Comfort. You begin by examine the scene and the patient to guarantee safety and identify urgent issues. Next, you call for help immediately. Then, you care for injuries with appropriate techniques like bleeding control or immobilization. Finally, you comfort the patient by reassuring and calming them, helping keep their dignity and mind at ease until professional help arrives.
Conclusion
By mastering these basic wilderness first aid techniques, you’re better prepared to face unexpected emergencies in the wild. Remember, prevention is key, but knowing how to act swiftly can make all the difference. Stay calm, keep a clear head, and don’t let the situation get the better of you. With the right skills, you can turn a potential disaster into a manageable situation, proving that you’re ready to handle whatever comes your way when it’s least expected.