
You can totally save your wetsuit and dive again tomorrow without emptying your wallet! Start by checking for tears or cracks—small ones are easy fixes with neoprene glue, while bigger rips may need patches and stitching. Gather your supplies like repair patches and scissors, and make sure you clean the area before applying glue. Let your repairs cure for a few hours, and voilà! To keep your wetsuit in great shape, remember to rinse it after use and store it in a cool spot. There's so much more to uncover about maintaining your gear, so keep exploring those tips!
Key Takeaways
- Assess and repair small tears quickly with neoprene glue to extend your wetsuit's life and save money on replacements.
- Use high-quality repair patches and contact cement for larger tears, ensuring a strong bond for long-lasting repairs.
- Regularly maintain your wetsuit by rinsing it with freshwater and using wetsuit shampoo to prevent damage and deterioration.
- Store your wetsuit properly in a cool, dry place, and hang it on a wide plastic hanger to avoid creasing.
- Inspect your wetsuit frequently for signs of wear, allowing for timely repairs and preventing costly replacements.

Bushcraft Survival Tool, Survival Tool for Bushcraft Settlers, Manual Drill Wrench, Scotch Eye Auger Drill and Hand Hole Maker for Outdoor, Bushcrafting, with Protective Case and Hook
- Material: Heavy-duty steel with black coating
- Durability: Advanced welding prevents breakage
- Sharpness: Professionally ground for perfect holes
As an affiliate, we earn on qualifying purchases.
Assessing the Damage
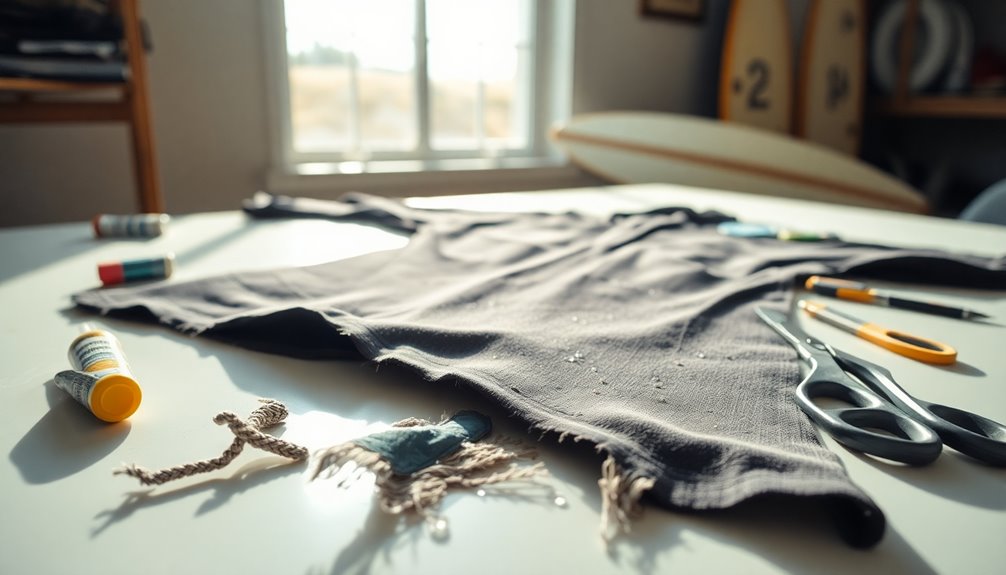
Assessing the damage to your wetsuit is crucial before you attempt any repairs. First, take a good look at it and identify any types of damage. You might find physical tears from sharp coral or rocks, which can happen if you're not careful.
Also, check for degradation caused by the sun; too much sun can make your neoprene stiff and less flexible. Regular exposure to UV rays can lead to increased wear on materials like neoprene, reducing its lifespan.
Next, measure any tears. If they're long or deep, you'll need special repair methods. Pay attention to high-flex areas like your elbows and knees, where the wetsuit bends a lot. Small tears might be fixable at home, but if they compromise the wetsuit's thermal protection, you may need professional help. Regular maintenance can help prevent further damage.
Now, don't forget to examine the neoprene itself! Look for cracks, holes, or thin spots, which can make your suit less effective.
Also, check the seams, zippers, and seals around your wrists and ankles. If you spot anything unusual, like black flecks inside, that could mean it's time for a more serious repair.

Survival Kit, 262Pcs Survival Gear and Supplies with First Aid Kit Pouch and Crossbody Bag, Emergency Kit with Tent, Camping Axe Hammer, Survival Shovel w/Pick, Bug Out Bag Gifts for Men Women
- Family Emergency Preparedness: Designed for critical 72-hour safety
- Complete First Aid Supplies: Includes tweezers, scissors, bandages, and more
- Versatile Survival Gear: Tools for food, water, warmth, and light
As an affiliate, we earn on qualifying purchases.
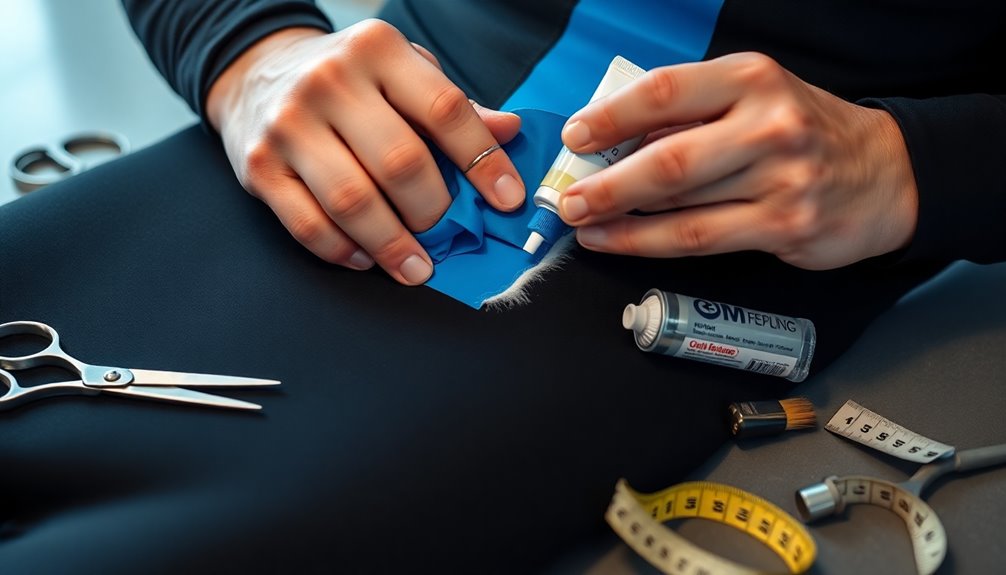
Gathering Tools and Materials
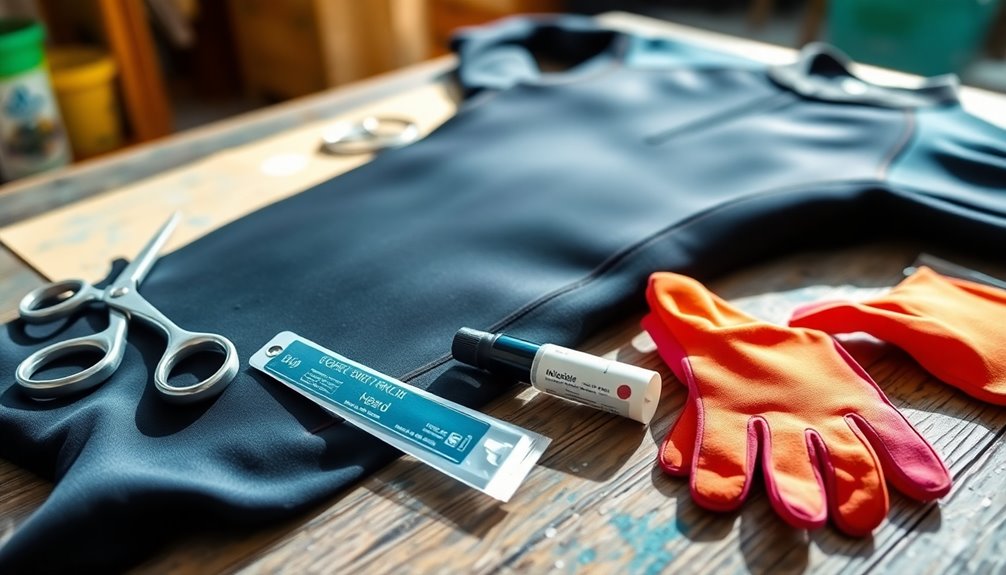
Once you've carefully evaluated the damage to your wetsuit, it's time to gather the right tools and materials for effective repairs.
First, you'll need some essential adhesives. Neoprene-specific glue is a must for bonding neoprene surfaces, while contact cement works wonders for seams. Aquaseal is great for filling holes but isn't the best for pure neoprene. If you want a fast-drying option, grab some Neoprene Queen Contact Adhesive, which has a fast-drying adhesive that offers a strong, long-lasting bond. Don't forget an accelerator to speed up the curing process!
Next, pick out repair patches. Neoprene patches come in various sizes, and Tenacious Tape Neoprene is perfect for patching inside tears. You can also use polyester thread or even dental floss for sewing repairs.
Now, prepare your workspace! A clean cloth is essential for cleaning the damaged area, and scissors or a razor blade will help trim the edges neatly.
You might want some weights or clamps to hold everything in place while the glue dries. Finally, a low heat iron can help apply patches smoothly.
With these tools by your side, you'll be ready to tackle that wetsuit repair like a pro! Happy fixing!

COOLJOB Gardening Gloves for Men, 2 Pairs Breathable Rubber Coated for Garden Weeding Landscaping, Outside Work for Lawn Yard, Men's Large Size, Black & Red
- Breathable and Comfortable Material: Red and black polyester base for breathability
- Long Cuffs and Elastic Wrist: Keeps dirt out and easy to wear
- Durable Rubber Coated Palm: Provides protection and non-slip grip
As an affiliate, we earn on qualifying purchases.
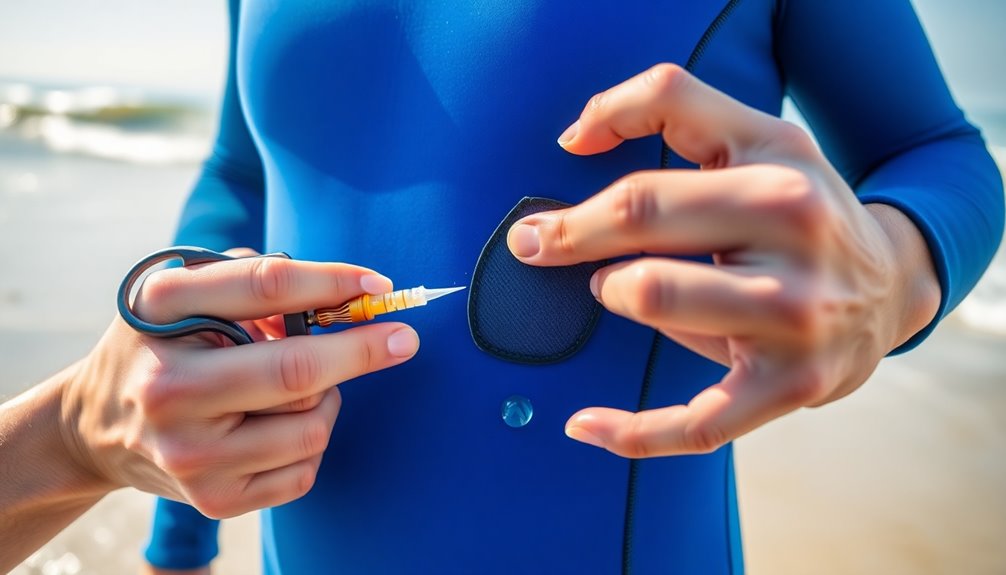
Repairing Small Tears
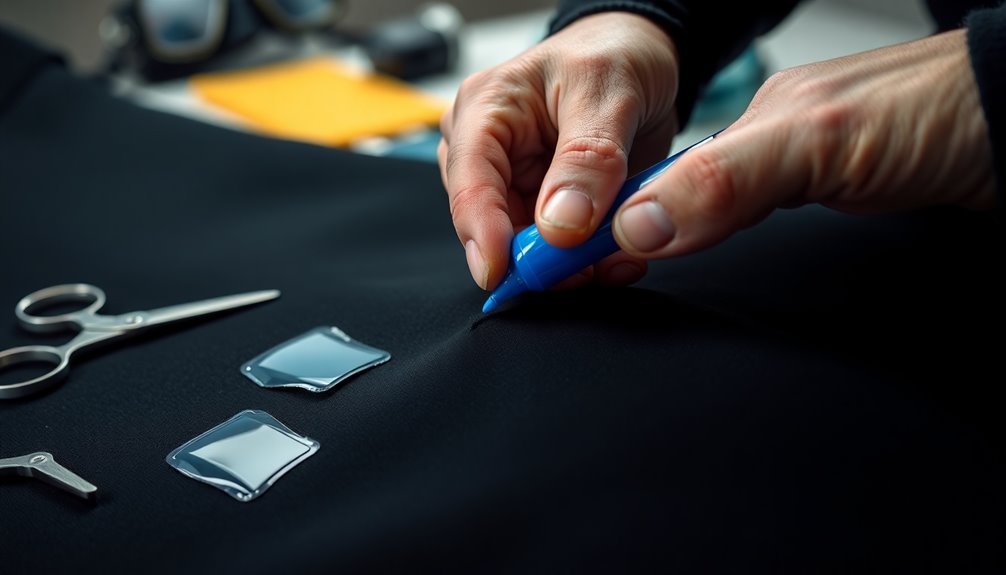
Before diving into the repair process, you'll want to take a close look at those small tears in your wetsuit. First, assess the damage by measuring the length and depth of each tear; this helps you figure out how to fix it. Make sure to clean the area around the rip, so there's no dirt, sand, or wax.
Then, gently open the rip to see both sides and use a clean cloth to prepare the surface for repair.
Now, grab your neoprene glue or wetsuit repair adhesive! Apply a thin, even layer of glue to both surfaces of the tear using a small brush, or even a paperclip for tiny nicks. Remember, don't press the sides together while it's still wet—let that glue dry completely! For extra support, especially at spots like your knees or shoulders, you might want to stitch the area with nylon thread or add a neoprene patch. It's also recommended to use a wetsuit repair kit to ensure you have the right materials for effective repairs.
Finally, let the repair cure fully for about 4 to 6 hours. After that, test it out in water to make sure you're all set for your next adventure! Happy diving!
NVioAsport 20 in 1 Paracord Bracelet, Adjustable Gear Kit with SOS LED Light, Fire Starter, Bigger Compass, Survival Whistle, Perfect for Camping, Hiking, Fishing, Survival Bracelet
- 20-in-1 Survival Tool Set: Includes compass, SOS light, fire starter, whistle, thermometer
- SOS LED Light: Three modes: flash, light, Morse code; lasts 72+ hours
- Bright, Long-Range LED: Visible within 32 feet in darkness
As an affiliate, we earn on qualifying purchases.
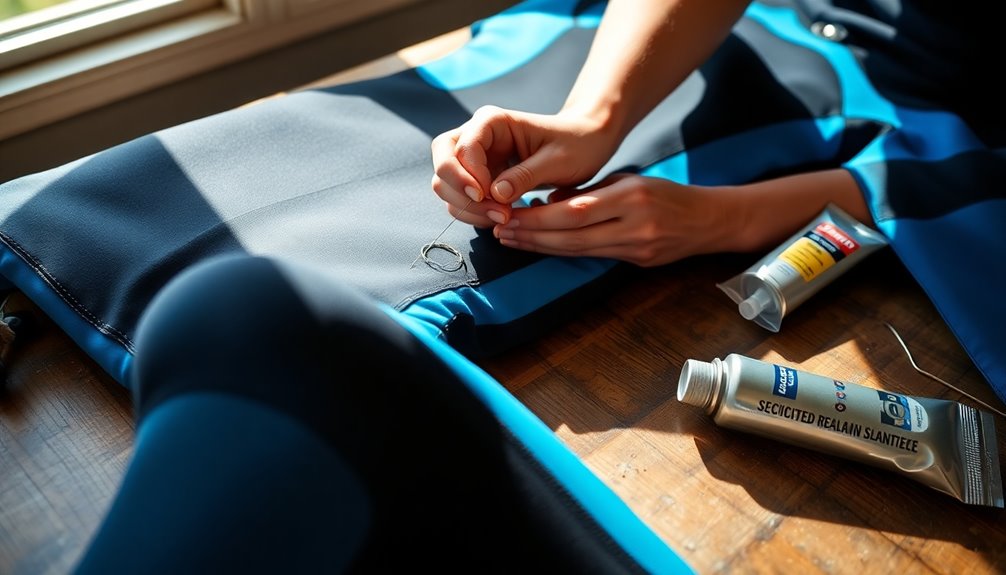
Repairing Large Tears
Large tears in your wetsuit can be daunting, but with the right approach, you can restore it to its former glory.
First, measure the length and depth of the tear to pick out the best repair method. Check if the damage goes all the way through to the liner; if it does, glue alone mightn't cut it.
Before you start, clean the area around the rip to keep dirt and sand from messing up your repair. Open up the tear a bit to see both sides, making it easier to fix.
You'll need some tools and materials. Grab neoprene glue or a wetsuit repair adhesive, and don't forget neoprene patches that are a bit bigger than the tear. Use scissors for trimming, and weights or clamps to hold everything in place while it cures.
It's also crucial to ensure the repair area is clean and dry for optimal adhesion, as this can help maximize the lifespan of your wetsuit.
Start by applying a coat of glue to both sides of the tear, then stick on the patch, sealing the edges tight.
If the tear is at a high-stress point, use nylon thread to stitch it first. After everything's dry, test your wetsuit in water to make sure it's all good to go!
Preventative Maintenance Tips
Repairing large tears is just one aspect of keeping your wetsuit in top shape. To truly protect your suit, make rinsing it with freshwater after every use a habit. This simple step can prevent saltwater damage, so stick to cold or lukewarm water—hot water is a no-go! Additionally, regular rinsing helps maintain material integrity and reduces long-term damage.
Don't forget to wash both the inside and outside thoroughly, and every few uses, treat it with a wetsuit shampoo to keep it fresh and clean.
When it comes to drying, hang your wetsuit over a wide plastic hanger to avoid damaging the seams. Always dry it in a shady spot, away from direct sunlight, and turn it inside out first. Once that side's dry, flip it right side out.
Store your wetsuit in a cool, dry, and dark place to keep it safe from wear and tear.
Finally, inspect your wetsuit after each dive. Look for loose seams or thinning neoprene, and use a lubricant on zippers to keep them smooth.
Frequently Asked Questions
How Long Does a Wetsuit Repair Typically Take to Complete?
Repairing a wetsuit can take a bit of time, but it's totally worth it!
First, you'll need to let the glue dry for about 5 to 10 minutes between coats.
After applying the last coat, give it 4 to 6 hours to cure completely.
So, plan for a few hours, but if you're patient, you'll be back in the water soon!
Just remember to check your repair before diving in for some splashing fun!
Can I Use Regular Glue for Wetsuit Repairs?
Nope, you can't use regular glue for wetsuit repairs! It just doesn't work well with neoprene, making it stiff and uncomfortable.
Instead, grab some neoprene-specific glue, which stays flexible and waterproof.
When you find a tear, clean the area, apply the glue to both sides, and let it get tacky before pressing them together.
This way, your wetsuit will feel great again, and you can dive back in without worries!
What Should I Do if My Wetsuit Smells Bad?
If your wetsuit smells bad, don't worry, you can fix it! Rinse it right after use with fresh water, especially in stinky spots like the armpits and neck.
Try soaking it in a vinegar solution for about 30 minutes to kick odors to the curb. You can also use special wetsuit shampoos or make a baking soda paste.
Finally, hang it to dry inside out, and it'll be fresh and ready for your next adventure!
Is It Possible to Repair a Wetsuit Myself?
Absolutely, you can repair your wetsuit yourself!
Start by checking the damage, and clean the area around the tear. Use neoprene-specific glue, applying it to both sides of the rip.
If it's a bigger tear, grab a neoprene patch, too. Just remember, don't use regular glue—it won't stretch!
Let it cure overnight, and you're ready to hit the waves again.
With a little patience, you'll save money and keep diving!
When Should I Consider Professional Wetsuit Repair Services?
You should think about professional wetsuit repair services when you notice big tears, especially those over five inches, or if the seams and zippers are damaged.
If your wetsuit's thermal protection feels off, it's time for help!
When repairs look tricky or you're unsure about using adhesives, don't hesitate to call in the pros. They've got the skills, tools, and materials to bring your wetsuit back to life and keep you diving happily!
Conclusion
Now that you know the secrets to wetsuit repair, you’re all set to dive back into the water without breaking the bank! By assessing the damage, gathering your tools, and following those easy steps, you can fix small and big tears like a pro. Plus, with a little preventative maintenance, your wetsuit will stay in great shape for many adventures to come. So grab your gear, and get ready to make some waves—happy diving! And if you’re looking to add some excitement to your diving experience, consider exploring the mysterious gear for free diving enthusiasts. With the right equipment and a well-maintained wetsuit, you’ll be ready to uncover hidden treasures beneath the surface. So don’t let a little wear and tear hold you back, gear up and get ready for your next underwater adventure!