When building shelter in different environments, focus on using natural features and materials suitable for each setting. In forests, use logs, branches, and leaves to create debris huts or lean-tos that shield from wind and provide insulation. In deserts, utilize caves, rock overhangs, and natural trenches to stay cool and dry. For snow and cold, build domes with packed snow and ventilation holes. In rainy areas, construct steep-roofed shelters with waterproof layers. Exploring these techniques helps you adapt effectively to any environment.
Key Takeaways
- Use natural materials like logs, branches, leaves, and moss for debris shelters, adapting to forest environments.
- Exploit landscape features such as caves, overhangs, ridges, and gullies for immediate shelter and protection.
- Position shelters to shield from prevailing winds and incorporate natural cover for insulation, especially in deserts and snowy areas.
- Build steep-roofed structures and elevate floors in rainy conditions to ensure water runoff and dryness.
- Select stable, well-drained sites away from hazards, utilizing natural features for shelter stability and environmental harmony.
Adapting Shelter Designs to Forested Terrains
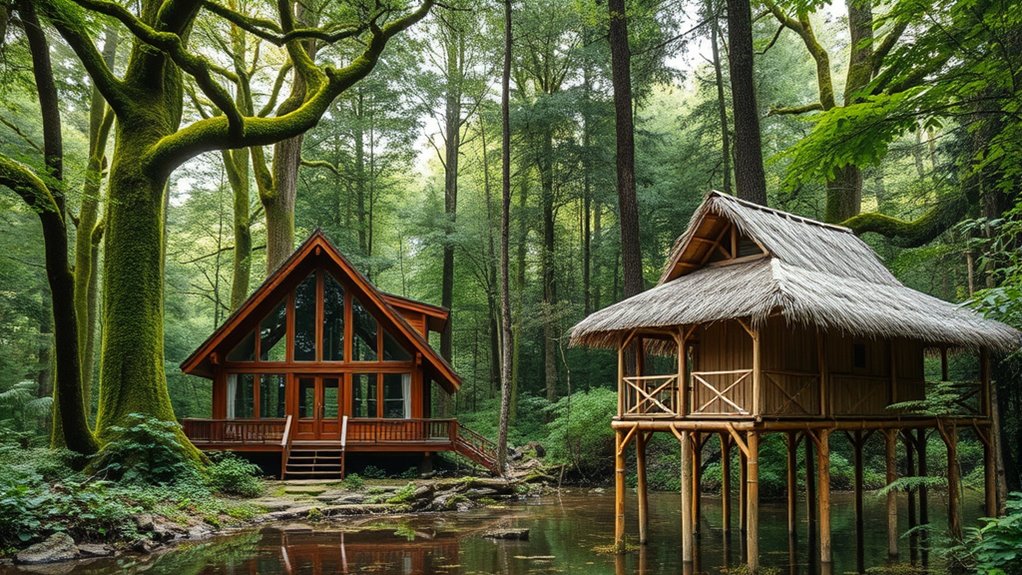
Have you considered how to make your shelter blend seamlessly into a forested environment? Using fallen logs, branches, and other natural materials helps create debris huts or lean-to shelters that match the forest terrain. Choose an elevated ground site away from dead trees or unstable branches to stay safe from falling debris. Support structures like sturdy tree forks or leaning branches form the framework for your shelter, such as wickiups or tree platforms. Focus on shelter orientation to shield from prevailing winds, and incorporate natural cover like leaves, moss, and bark to insulate walls and bedding. This improves warmth and moisture resistance. Additionally, understanding self-watering plant pots can inspire creative ways to manage moisture and hydration within your shelter, ensuring a more comfortable environment. Incorporating natural materials not only enhances the shelter’s integration with its surroundings but also provides better insulation and insulation. Utilizing natural building techniques can further improve the durability and sustainability of your shelter. For example, using local resources effectively minimizes environmental impact and enhances the shelter’s harmony with its environment. Exploring traditional indigenous construction methods can offer valuable insights into sustainable and culturally appropriate shelter designs. Combining these elements ensures your shelter is well-integrated into the environment, providing safety, comfort, and effective insulation in forested terrains.
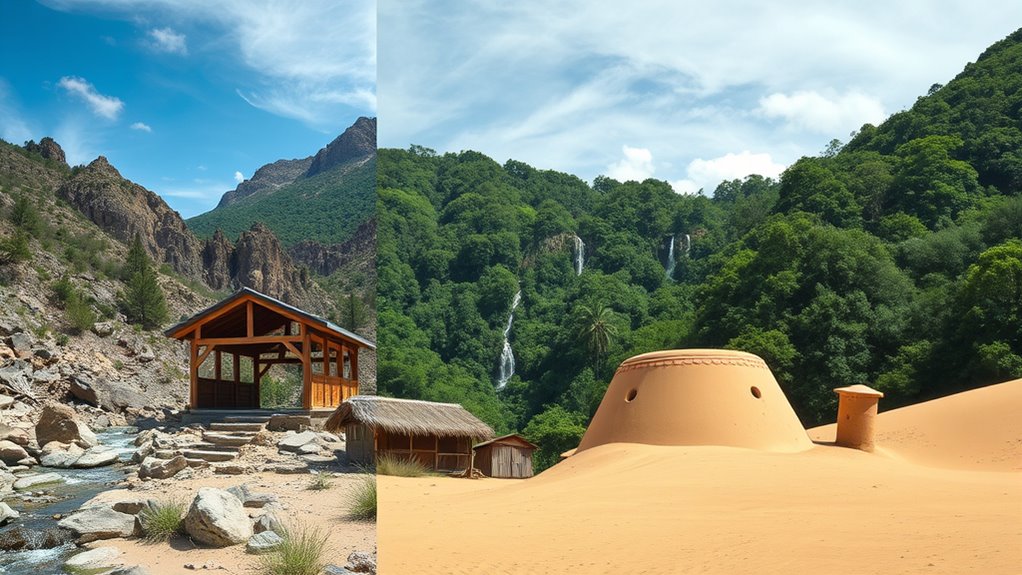
Constructing Effective Shelters in Desert Environments
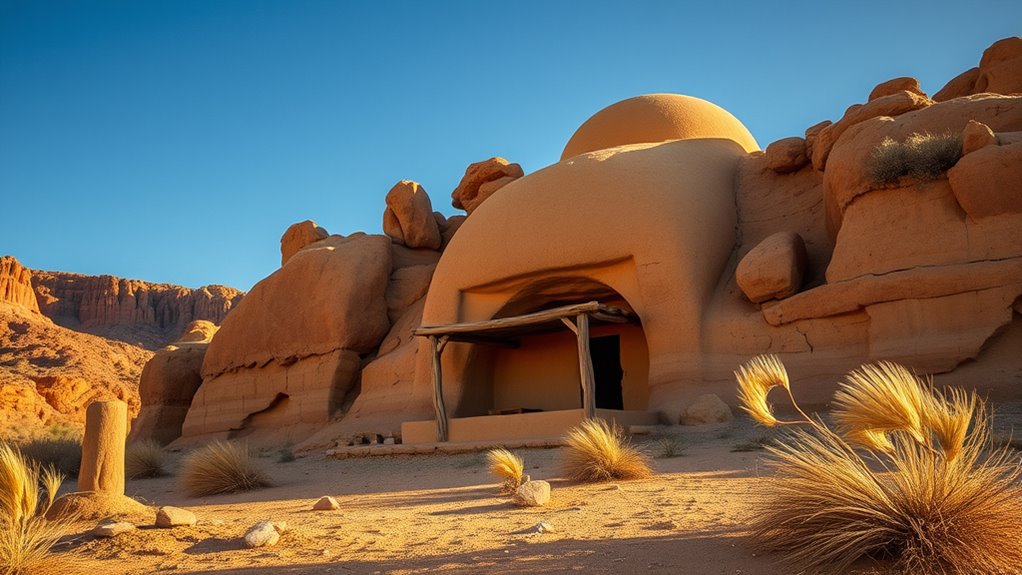
In desert environments, you can use natural features like caves or rock overhangs for quick shelter and protection from the sun and wind. Improvising with minimal resources, such as tarps or fabric, helps create shaded areas and keeps you cool. Proper insulation and water management are essential to stay comfortable and safe in the intense heat. Additionally, lightweight and portable portable camping toilets can be helpful for maintaining hygiene during extended stays in remote desert areas. Utilizing water parks facilities nearby can sometimes provide access to water and shade when available. Incorporating data privacy techniques into your planning can help conserve resources and ensure safe, secure shelter arrangements.
Utilizing Natural Features
When constructing a shelter in desert environments, leveraging natural features can substantially increase your protection and conserve resources. Use rock formations, large boulders, and natural shelters like caves or crevices to block wind and sun, providing essential cover and insulation. Choosing a shelter site near deep trenches or natural trenches offers protection from extreme heat and wind, while also helping with temperature regulation. Shallow pits covered with natural materials or a tarp can serve as shade, reducing direct sunlight exposure. Elevation and natural shade from environmental features help prevent flooding and minimize exposure to harsh conditions. Additionally, market analysis indicates a shift towards healthier snack options, which can be incorporated into survival strategies to maintain energy levels. Being aware of environmental hazards, such as flash floods or sandstorms, is crucial for selecting a safe shelter location. Recognizing the importance of natural materials can also aid in constructing more effective shelters that blend seamlessly with the environment. Incorporating shelter design principles can further enhance the safety and comfort of your shelter in challenging environments. Utilizing growing and harvesting chia seeds techniques such as organic cultivation and maximizing yield can teach adaptable strategies for sustainable resource management in remote or extreme settings. By thoughtfully selecting your location based on these natural elements, you maximize protection while minimizing the need for additional resources, making your shelter more effective and sustainable.
Improvising With Minimal Resources
To effectively improvise a shelter in desert environments with minimal resources, focus on using natural features like rock outcroppings, caves, and deep trenches to provide immediate protection from the sun and wind. These natural features serve as essential shelter components, reducing the need for extensive construction. When improvising, dig shallow trenches or scout pits to create shade and lower exposure, covering them with tarps, branches, or clothing for added protection. Use available natural materials like loose sand, gravel, or desert vegetation as insulation and windbreaks, helping with temperature regulation. Burying yourself in a trench or leaning against a natural barrier minimizes resource use while offering shelter from harsh elements. Position tarps or makeshift shade structures to maximize airflow and sun protection, ensuring effective wind protection and shade. Recognizing symptoms of heat exhaustion can help prevent serious health issues in such environments. Additionally, understanding local weather patterns can aid in planning your shelter’s location and orientation for optimal protection. Incorporating natural landscape features can further enhance the shelter’s stability and effectiveness in extreme conditions. Being aware of environmental hazards can also prevent potential dangers and improve survival chances in harsh terrains. Moreover, selecting a location with adequate drainage can prevent water accumulation and related issues during unexpected rain.
Insulating and Water Management
Creating an effective desert shelter requires careful insulation and water management to withstand extreme temperature fluctuations and prevent water intrusion. You can enhance insulation by using natural materials like dry grasses, palm fronds, or sandbags, which create air gaps that slow heat transfer and improve thermal regulation. Elevating your shelter floors with layers of rocks or mats prevents heat loss and moisture intrusion, aiding moisture control. To manage water runoff, design entrances and floors to direct water away, avoiding flooding inside. Using natural features such as rock overhangs or tarp covers supported by buried stakes offers shade and reduces temperature exposure. Proper shelter construction focuses on drainage and ground elevation to maintain dryness and comfort, ensuring your shelter remains resilient against desert conditions. Incorporating insulating techniques such as layered materials can further optimize temperature stability inside your shelter. Additionally, understanding water management principles helps in designing effective drainage systems that prevent accumulation and maintain a dry environment. Employing moisture control methods like waterproof barriers can also help protect your shelter from unexpected weather changes.
Building Cold-Weather Shelters for Snow and Ice
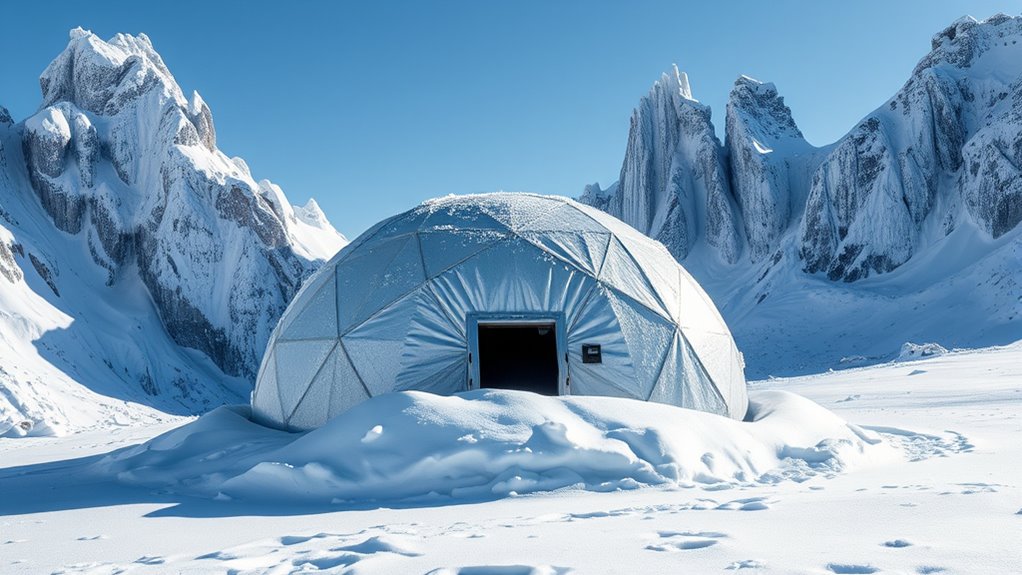
To construct effective snow and ice shelters, focus on proper construction, insulation, and ventilation. Use stable, packable snow about two feet thick for strength and warmth, and add dry materials like pine boughs for better insulation. Don’t forget to include small ventilation holes to prevent moisture buildup and guarantee safe airflow inside your shelter.
Snow Shelter Construction
Building a snow shelter involves carefully selecting a stable snowbank and shaping it into a durable, insulated refuge. You start by piling snow into a dome or carving into a snowbank, ensuring the snow is well-compacted to strengthen the structure. About 2 feet of compacted snow provides ideal insulation and stability, preventing collapse. To maintain safe airflow and reduce moisture buildup, you need ventilation holes roughly 6 to 12 inches in diameter. Proper shaping of the interior prevents melting snow from dripping and weakening the shelter. If you use a fire inside, place dry, heat-resistant rocks carefully to add warmth without risking structural damage. Always monitor the snow’s integrity, as melting or dripping can compromise the shelter’s safety and insulation.
Insulation and Ventilation
Effective insulation and ventilation are key to maintaining a safe and comfortable snow or ice shelter. To optimize thermal retention, use about 2 feet of dry snow with proper insulation layers, and pack it tightly in a dome shape. Incorporate 1) ventilation holes, about 6 to 12 inches wide and placed high, to allow fresh air flow without significant heat loss. 2) Ensure the snow is dry—avoid moist or waterlogged snow, which compromises insulation. 3) Add natural insulation like pine boughs or dry grass at the bottom for extra warmth. 4) During shelter construction, maintain proper ventilation to prevent moisture buildup, which can weaken the structure and reduce insulation efficiency. These steps help keep your snow shelters stable and warm in cold environments.
Creating Shelters for Wet and Rainy Conditions
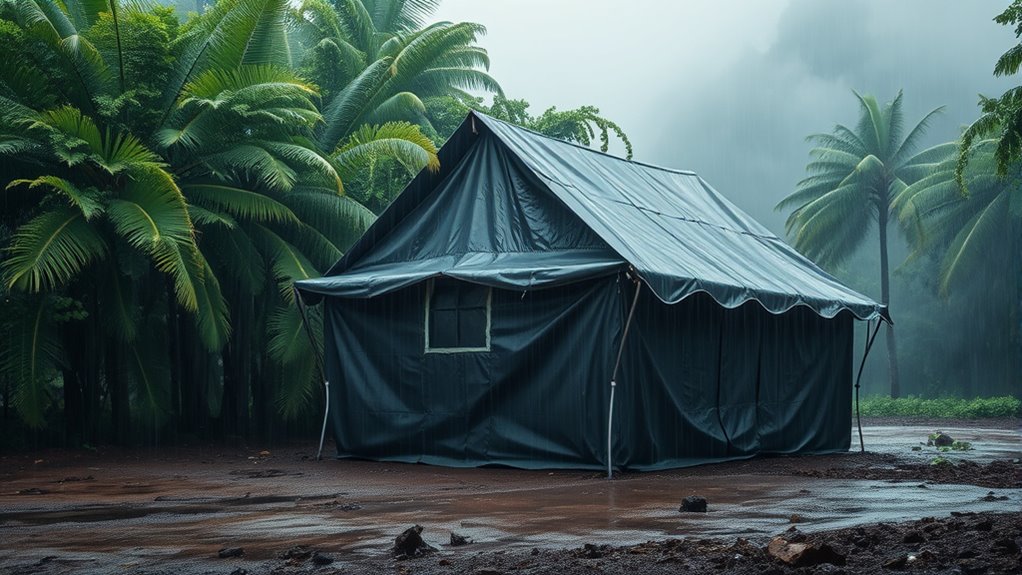
When designing shelters for wet and rainy conditions, it’s essential to focus on waterproofing and water runoff. You can start by building a lean-to with a steep roof angle, which helps rainwater flow away quickly. Use a tarp or tarpaulin as an outer layer to add water resistance; tie it tightly over your shelter frame for an effective waterproof barrier. Layer natural materials like bark slabs, dry leaves, or grasses over supports and gaps to waterproof the surface further. Construct a raised platform with logs, rocks, or packed earth to keep yourself dry and prevent ground moisture from seeping in. Seal edges and corners with mud, moss, or vegetation to minimize open gaps, ensuring rain doesn’t penetrate your shelter. Proper layering and sealing are key to staying dry in rainy conditions.
Utilizing Natural Features for Shelter in Mountainous Areas
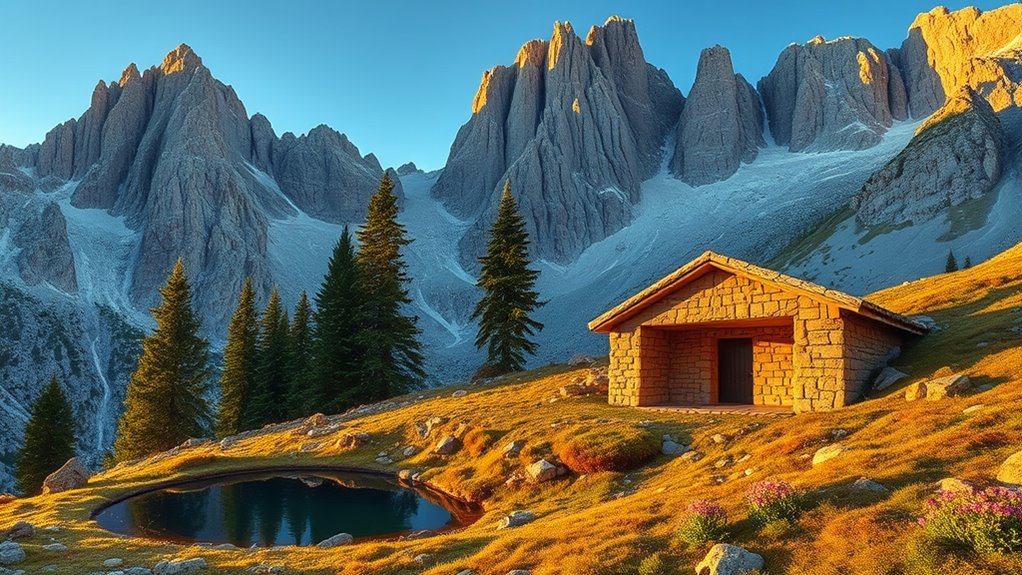
In mountainous areas, you can leverage natural features like overhanging rock ledges and caves to create quick, reliable shelters. These geological formations offer immediate wind protection and shield you from rain, making them essential in mountain shelters. To maximize terrain utilization, consider these strategies:
- Use rock formations such as crevices and overhangs for quick cover.
- Exploit natural drainage channels to prevent water buildup inside shelters.
- Position your shelter on the leeward side of a mountain to reduce wind chill.
- Incorporate ridges and gullies to enhance stability and provide additional wind protection.
Temporary Shelters for Storm-Prone Regions

In storm-prone regions, quick and reliable shelter construction can make a pivotal difference during severe weather events. You should focus on creating quick-construct shelters like tarp shelters with wind-resistant design. Reinforced tarps with multiple tie-down points and aerodynamic shapes, such as wedge or A-frame structures, minimize collapse risks. Building low-profile structures reduces wind resistance, helping maintain stability during storms. Incorporate natural windbreaks like large rocks, dense vegetation, or terrain features to add extra protection. Using supports deeply anchored into the ground or burying tarp edges with rocks enhances durability.
| Shelter Type | Key Features | Benefits |
|---|---|---|
| Tarp Shelters | Reinforced tarps, wind-resistant shapes | Stability during storms |
| Low-Profile | Aerodynamic, minimal surface area | Reduced wind damage |
| Natural Windbreaks | Terrain features, vegetation | Extra protection and durability |
Selecting the Right Site for Shelter Construction
Selecting the right site is essential for shelter stability and safety. Your shelter’s longevity depends on careful shelter site selection, emphasizing terrain assessment and safety considerations. To start, consider these key points:
Choosing a stable, well-drained site with natural windbreaks ensures shelter safety and longevity.
- Choose stable ground that drains well to prevent flooding and ensure durability.
- Look for natural windbreaks such as trees, rocks, or hills for weather protection.
- Maintain at least 200 feet from water sources to reduce flood risk and environmental impact.
- Avoid areas with loose soil, animal trails, or unstable slopes that compromise safety and stability.
Frequently Asked Questions
Where Is It Legal to Build a Bushcraft Shelter?
You want to know where it’s legal to build a bushcraft shelter. Generally, you can do so on public lands like national forests and BLM areas, but always check specific regulations. Avoid building in national parks or protected areas without permission, and never on private property without consent. Remember to follow Leave No Trace principles and local laws to prevent environmental damage and legal issues.
How to Build a Shelter in Nature?
Imagine you’re like Robinson Crusoe, seeking safety in the wild. To build a shelter, choose a flat, dry spot away from hazards. Gather natural materials like branches and leaves. Construct a sturdy frame, then insulate with vegetation or debris. Add ventilation and small entrances for airflow. Regularly check and reinforce your shelter, making sure it’s stable and protected from the elements, so you stay warm, dry, and safe in nature’s embrace.
Where Is the Best Place to Build a Shelter?
The best place to build a shelter is on a flat, well-drained, slightly elevated spot to avoid flooding. You should choose an area away from natural hazards like unstable slopes or eroding riverbanks. Stay at least 200 feet from water sources to prevent contamination and flooding risks. Look for natural windbreaks like large trees or rocks, but steer clear of dead or leaning trees that might fall.
What Is the Easiest Type of Shelter to Build in the Wild?
Think of building a shelter like planting a seed—you want something quick and easy to grow. The simplest option is a debris hut or lean-to, which you can assemble in under an hour using natural materials or nearby support like a tree. Tarp shelters are also a great choice—they’re lightweight, portable, and require minimal effort, making them perfect for beginners or urgent situations.
Conclusion
No matter where you build, adapting your shelter to the environment is essential for safety and comfort. By understanding and utilizing natural features, you transform simple structures into almost invincible havens against the elements. Your ability to select the right site and design accordingly can mean the difference between enduring a storm of epic proportions or being overwhelmed by nature’s fury. Master these skills, and you’ll be unstoppable against even the most extreme environments.